All you need to create a boat that floats is paper and tape! Follow those DIY instructions from National Geographic Kids Get Outside Guide and become captain of your own ship.
Explore the creek or stream by setting sail! With nothing more than some paper and a few folding tricks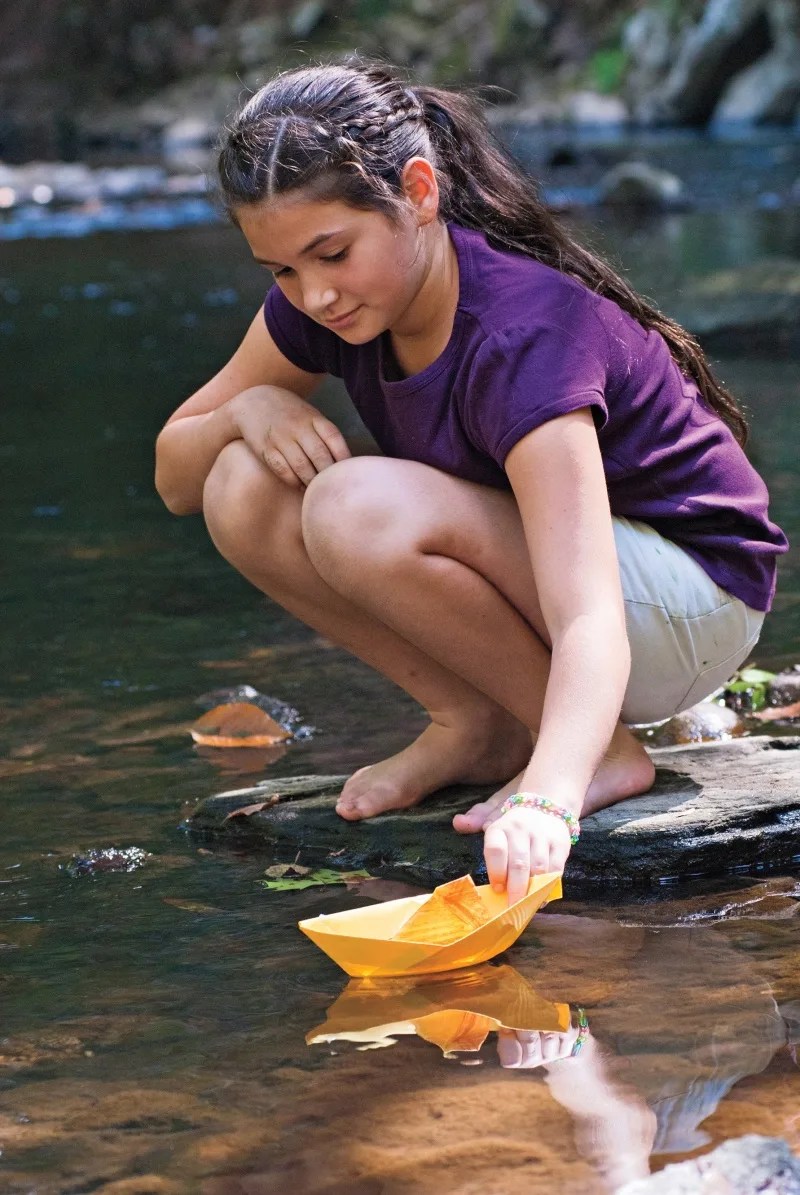 you can make your very own vessel to investigate the waters’ currents.
SUPPLY LIST:
- Paper
- Sticky Tape
STEPS:
|
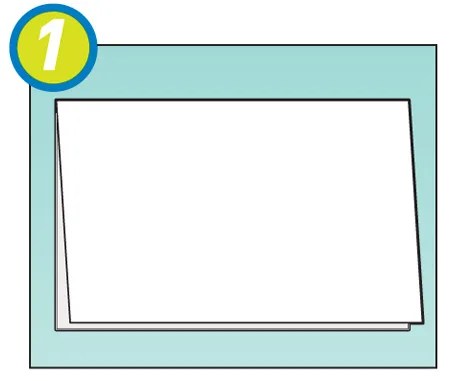
1. Take a piece of plain–or colorful–paper and place it in front of you with the shorter side at the top. Fold the paper in half from top to bottom.
|
|
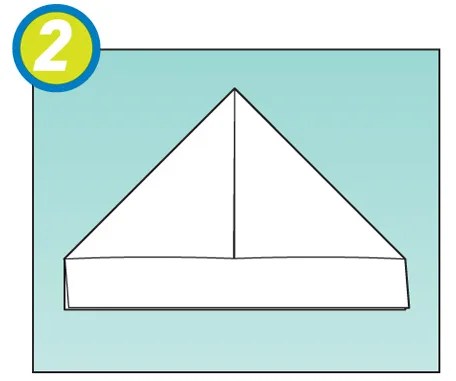
2. Fold left to right to find the center, and reopen. Bring the top two corners together to the middle, forming a point, and crease.
|
|
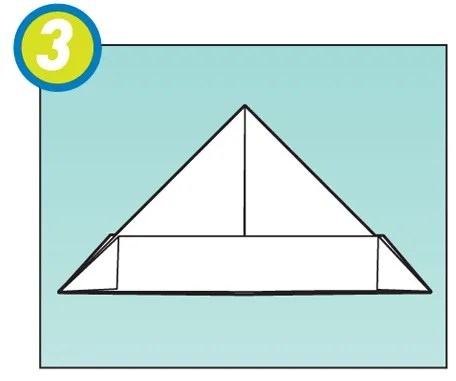
3. Fold the top flap at the bottom of the paper up; turn over and fold the other flap up. Fold the triangle tabs in over each other so you have a triangle.
|
|
4. Pop open the center like a hat, push the pointed sides to meet, and crease down so that you now have a square.
|
|
5. With the opening facing you, fold the top layer up to meet the other point. Turn the paper over and repeat.
|
|
6. Gently pull apart the top two points while pushing out with your fingers to form the bottom of the boat.
|
| 7. Reinforce corners with clear tape and also tape around the bottom to keep the boat dry. Now you are ready to launch your craft! |
Time: about 10 minutes
 Excerpted with permission from National Geographic Kids Get Outside Guide (ages 9-12; $14.99).

