


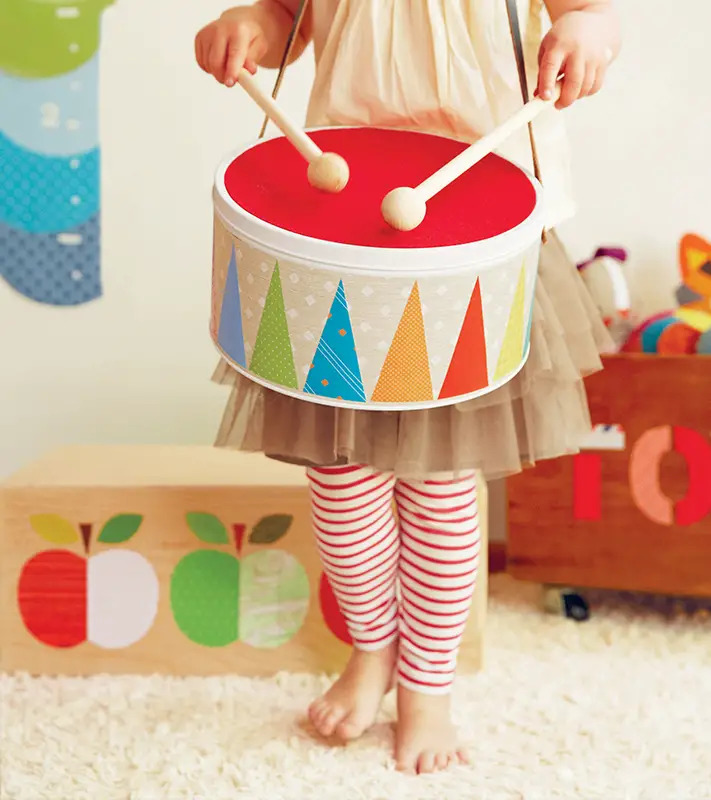
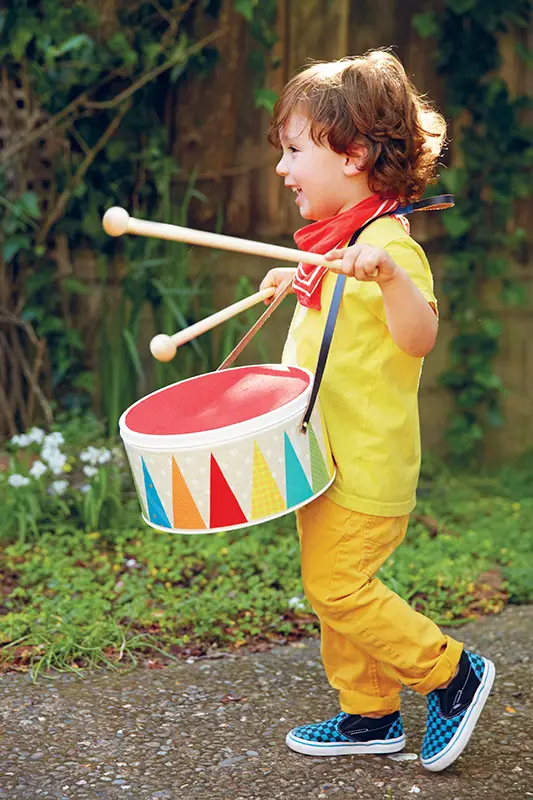
A big cookie tin may have initially said “yummy” to you, but it will definitely say “noisy” in its second life. This project requires very few skills to make, but will receive a cheerful standing ovation—or better yet, a well-deserved drum roll!
Note: Finished measurements vary depending on the size of your tin container
Materials
Toy Drum template (click for printable version)
Large round tin container
Spray or acrylic paint (optional)
Wallpaper scrap big enough to wrap around the container
Decoupage glue
2 brass fasteners
Assorted colored and patterned papers
Assorted found papers
Artist tape
32-inch long, thin leather belt or trim
Colored felt for the drum top
Clear Gel tacky glue
Two 12-inch long round wood dowels
Two spherical wood beads with holes large enough to insert the dowels
Carpenter’s wood glue
 Tools
Tools
Ruler or measuring tape
Scissors
1″–3″ flat paintbrush
Pencil
Hammer and nail or drill
Cutting mat
Craft knife
Leather hole punch (optional)
Instructions
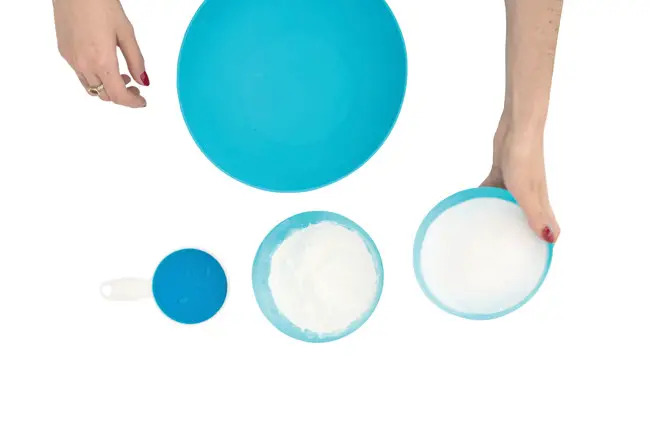
1. Depending on your found container, you may want to first paint it using either spray paint or acrylic paint. If you choose to do this, paint the lid and container separately.
2. Start by measuring the height of the container. Cut a strip of wallpaper that is long enough to wrap around the circumference of the container. Adhere the wallpaper to the tin using decoupage glue. Allow to dry.
3. Determine where you would like the strap to be attached. Mark two holes roughly 1½ inches below the top of the container. Ideally, you want to measure the circumference of the drum, divide by three, and mark two of those three measurements for placement of the strap. This way the straps end up closer to the child and won’t interfere with drum playing.
Punch holes into the tin container where you have marked using either a nail and hammer or a drill. The holes should be large enough for the arms of the brass fasteners to pass through.
4. Using the template, cut out 12 to 16 drum triangle pieces from the decorative papers you chose. Feel free to adjust the template to the specifics of your container. I recommend that you temporarily adhere the paper pieces to the container using small loops of artist tape. This will give you a chance to determine how to space out and arrange the pieces. Don’t worry about the triangles meeting perfectly corner to corner. Adjust the quantity of triangle pieces as desired.
5. Once the pieces are arranged, adhere them one by one to the drum using decoupage glue. Coat the entire collaged area with a final coat of decoupage glue. Allow to dry.
6. Cut the leather belt down to 32 inches. Using a craft knife, cut a small slit at either end of the belt (or cut several on one side if you wish to accommodate different aged children. You may be able to use one of the existing belt holes. This will be your drum strap. Attach the strap to the drum using the brass fasteners.
The above instructions were excerpted with permission from Petit Collage: 25 Easy Craft and Decor Projects for a Playful Home by Lorena Siminovich.