Lorena Siminovich, author of Petit Collage, shares step-by-step instructions to make a tiger mask and an owl mask out of paper. Make these with your kids for a DIY mask for their Halloween costume.
Let your own wild things show you their roars with these easy-to-make masks. They can even help you create them. As my kid says: Don’t be scared! It’s pretend!
Materials
|
Tools
|
Instructions
- Begin constructing the mask pieces with the animal head templates. Select paper for the tiger head and the owl face. Using the templates for the tiger head and the owl face, cut out a piece of cardboard roughly the same outline. Coat each cardboard piece with decoupage glue and lay face down on the back of the chosen papers. Smooth it out with your hand and allow them to dry under a weight. Set aside.
- Using the templates, cut out the remaining animal pieces from the decorative papers you choose. Pick a sturdy paper for the tiger ears, tiger snout, and owl beak pieces. Crease the beak and snout pieces according to the templates. To do so, lay the corresponding template over the snout or beak piece. Set a ruler or straightedge on the crease lines and run a bone folder along the lines. These lines will transfer to the pieces below. Set aside.
- Cut the eye holes out of the tiger head, owl face, and owl eyes pieces using a craft knife. Apply the remaining pieces using decoupage glue.
- For the tiger snout: Fold the flaps back from the center triangle of the tiger’s nose. Using decoupage glue, adhere the angled tabs together, forming the three-dimensional snout. The tabs at the base of the snout should be folded inward and will be hidden. Apply glue to these tabs and adhere the snout to the tiger’s face.
- For the owl beak: Fold backward away from the center diamond shape. Apply glue to the angled tabs and adhere the beak to the owl’s face.
| The above instructions were excerpted with permission from Petit Collage: 25 Easy Craft and Decor Projects for a Playful Home by Lorena Siminovich. | 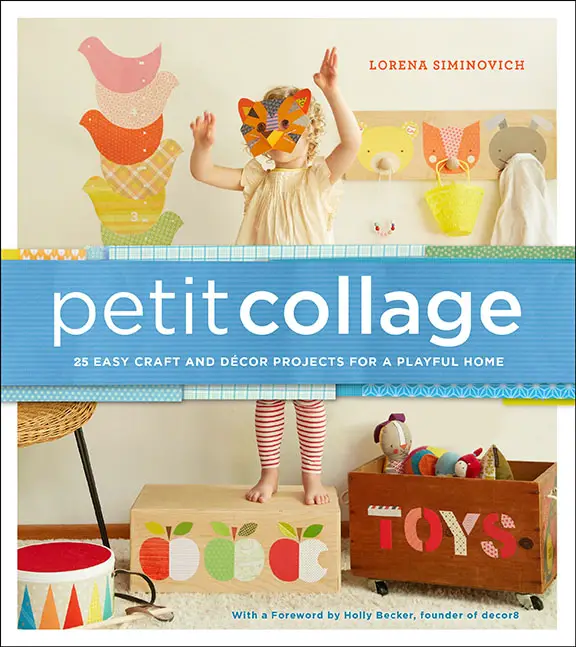 |

