


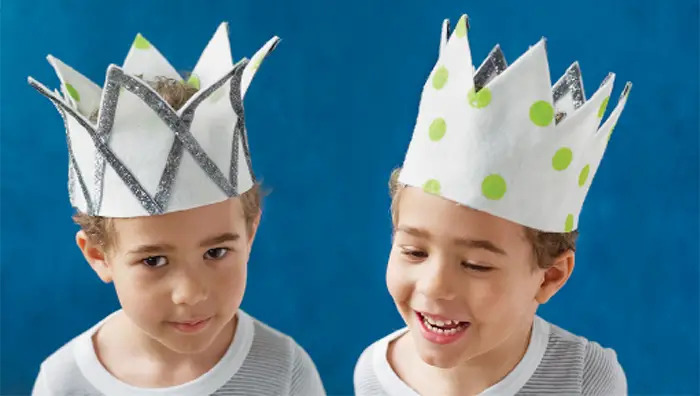
Amanda Kingloff, author of Project Kid, shares her how-to for a reversible felt crown.
Whether your kid wants to be Max from Where the Wild Things Are or Elsa from—duh!—Frozen for Halloween, they’ll need a crown to complete the outfit. Try your hand at a custom, two-sided felt topper that (bonus!) can be used later for imaginary play.
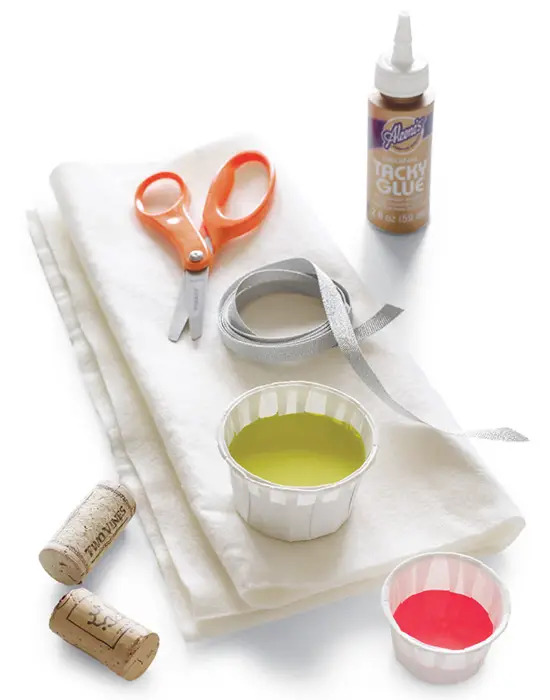
What you’ll need:
 |
|
Directions:
1. Cut a strip of wool felt long enough to fit the circumference of your child’s head. The width of the piece should be between 4 and 6 inches. Cut crown points along one edge.
2. To create the crisscrossed side, glue ribbon from the top of the first point down to the bottom edge of the strip, in a straight line along the edge following the point. From the same point, glue ribbon down the adjacent slope to the bottom edge. Trim off the excess at the bottom. Repeat for each point on the strip to create a crisscross pattern.
3. While the glue is drying, flip the felt over and create a polka-dot pattern by dipping the cork into the paint and then stamping. Let the paint dry.
4. To complete the crown, glue the ends of the felt strip together. To wear the crown the other way, just turn it inside out.
 |
Excerpted from Project Kid by Amanda Kingloff (Artisan Books). Copyright © 2014. Photographs by Alexandra Grablewski. |